Wednesday, July 27, 2016

Delightful Challenge #12


Hi Crafty Friends,
It's time for our next challenge at Digital Delights.  The challenge is open for 3 weeks and is always ANYTHING GOES using a stamp.

Here's my Design Team project using From My Garden.


From my garden set

The papers are from Gina K's Florals monthly kit.  I punched the leaves using a large Martha Stewart punch and added paper roses.  The image is matted using a Jaded Blossom Scallop Oval die and the sentiment is on a JB Flag Die mat.  I colored using Copic Markers and added some bright gems.

I hope you'll join in the fun of our Delightful Challenge #12.
Digital Delights Challenge

Photobucket

Friday, July 22, 2016

Cut it Up Challenge #101

Hi Crafty Friends,
I hope you found time to visit the Cut it Up Challenge blog to view the amazing projects by present and past design team members celebrating our 100th post.  

Today's challenge is RED, WHITE, and BLUE.  You're invited to make any project using these colors but be sure to include a die cut.

Here's my project.  It's a birthday card for my brother in law.


Along with Doodlebug Designs patterned papers, I used -
Jaded Blossom CARD MAT DIES, BORDER DIES, FLAG DIES, and STAR DIES.
The sentiments are from My CRAFT SPOT, but I think she's no longer in business.

This challenge is sponsored by 
One Happy Cut


Photobucket

Wednesday, July 20, 2016

Fairy Garden

Hi Crafty Friends,

My turn to post for Paper Crafting World.

 I decided to use a few new products and techniques on my card.


I started with the Butterfly Fairy CF set.  When I imported the file into my Silhouette, I made a few changes.  First, I separated the wings from the fairy.  Then I duplicated the butterflies so I could stack them and finally I duplicated and flipped the flowers so I would have a longer row.  I did not separate the pieces into like-colors because I decided to use everything as a print and cut.  I sent everything to my printer and then cut the pieces on the Scan N Cut2 (the SNC really makes cutting printed images easy peasy.) 


 Once I had all my pieces,  I got busy with my Spectrum Noir Sparkle pens and added wonderful glittery shine to almost everything.  


I popped up the image on the wings and folded up the butterfly wings for more dimension.  I also added a bit of rick rack and lace from my stash.  I framed the fairy using Jade Blossom Scallop Dies and added Nuvo Crystal drops all around.  A little highlighting with my Prisma Water Color pencils and Tombow blender and I called it finished.  It's a little different style and technique for me but I had fun using more of my machines and supplies.

You can find the Butterfly Fairy Cut File Set HERE.

Thanks for taking a look.  Be sure to visit the Paper Crafting World store for your cut file, paper piecing and digital stamp needs - so many adorable files to choose from.

Photobucket

Wednesday, July 13, 2016

Digital Delights July Release

Hi Crafty Friends,
I'd like to share one of four new release sets at Digital Delights by Louby Loo.  
You can find projects using all four sets by visiting our blog.
I'm using the Diving Peggy Legz set - perfect for your summer themed cards and layouts.


I colored the image using Copic Markers.  The papers are from my stash.  The mats were cut using Jaded Blossom Stitched Oval and Scallop Dies.  I added Glossy Accents to the goggles and a few sequins to embellish the background.
Here's the entire new release.
If you haven't visited our CHALLENGE BLOG, there is still time to enter.  It's always ANYTHING GOES using a stamped image.
Photobucket

Sunday, July 10, 2016

Hostess Monday at Digital Delights

Hi Crafty Friends,
  It's my turn, once again, to share a Hostess Monday at Digital Delights by Louby Loo project with you.
I love adding dimension to my cards and one way is to create a window card and add layers both inside and outside the window.  I wanted to create the illusion of an ocean on this one.
I used both sides of the Kaiser Craft Sea Grass patterned paper.  I placed the Sea Grass paper as a mat on the card base first and then cut out the Jaded Blossom Scallop Oval through both.  I printed the sentiment on a piece of vellum and adhered it to the inside.  Then I added the die cuts from Jaded Blossom Tropical Dies, some sequins, and the adorable Mermaid Samantha from the Digital Delights by Louby Loo store.  I colored her using Copic Markers and added sparkle with my Wink of Stella brush glitter pens.

This gives you a better look at the vellum window.  I covered it with a piece of coordinating card stock with the oval cut out so you can't see where I adhered it to the inside cover.


Here you can see the flip side of the patterned paper which I used on the inside with a coordinating mat.  You can see it through the vellum and that's the look I wanted.
Mermaid Samantha
Mermaid Samantha
Thanks for visiting my blog today.
Photobucket

Friday, July 8, 2016

Celebrate Cut It Up Challenge Blog's 100th Post!

Hi Crafty Friends,
Woohoo!  Today we're celebrating Cut It Up Challenge Blog's 100th post!
Our challenge theme for this post is ANYTHING GOES.  Along with the current design team, we've invited back past designers so the blog post is brimming with great ideas.  You're invited to visit the blog to see our creations and then link your own project.  We have a lot of sponsors offering some great prizes for this challenge.
The only rule for this challenge is to USE A DIE CUT.
Here's my project.


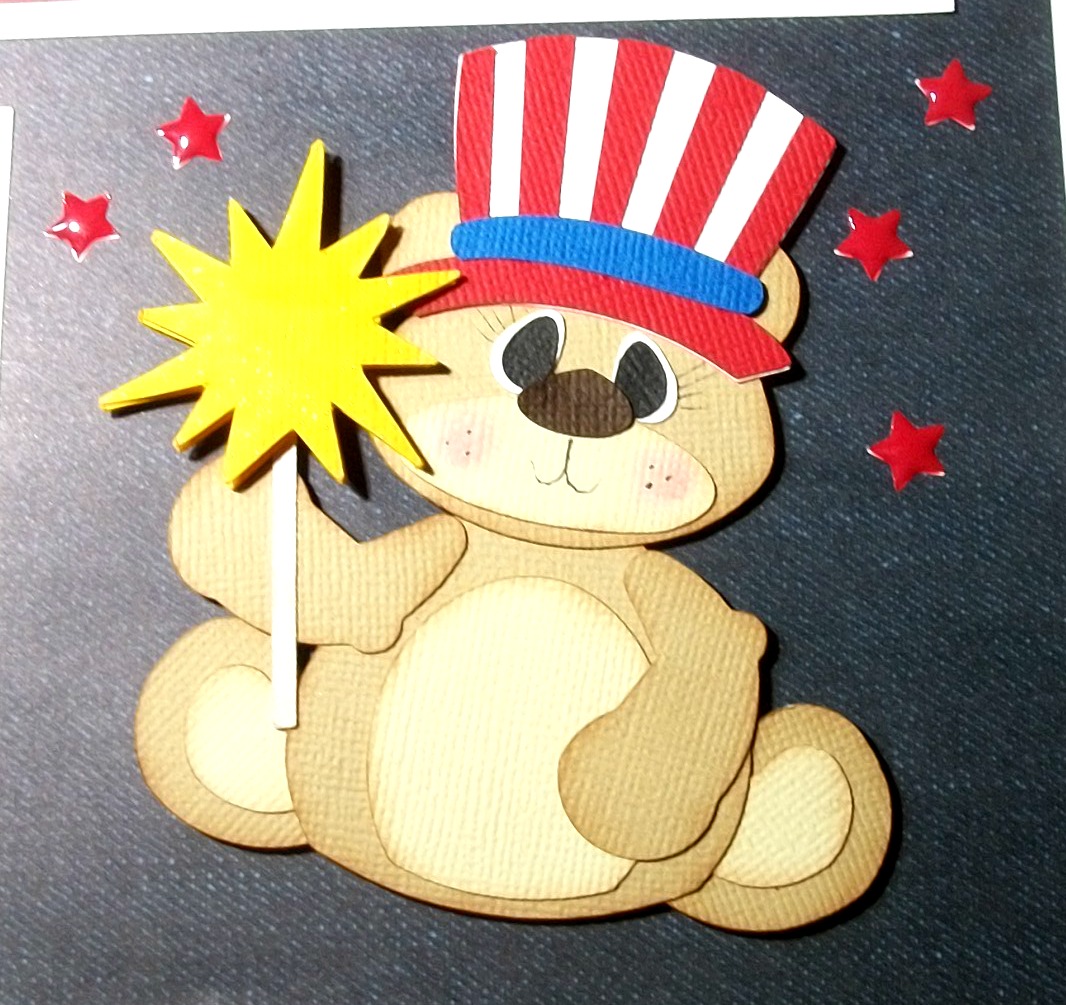
This is a memory box to hold baby's first year treasures.  Since the parents coach softball and dad is a former baseball player I went with the baseball theme.  The papers are from Hobby Lobby.  The shoe is from the Silhouette online store (baby shoe).  The letters and numbers were cut using Jaded Blossom's Alphabet Dies.  I used Bazzill dotted ribbon around the edges and the "A" is chip board painted with acrylic paint then pearl water color paint and, finally, black chalk ink on the edges.
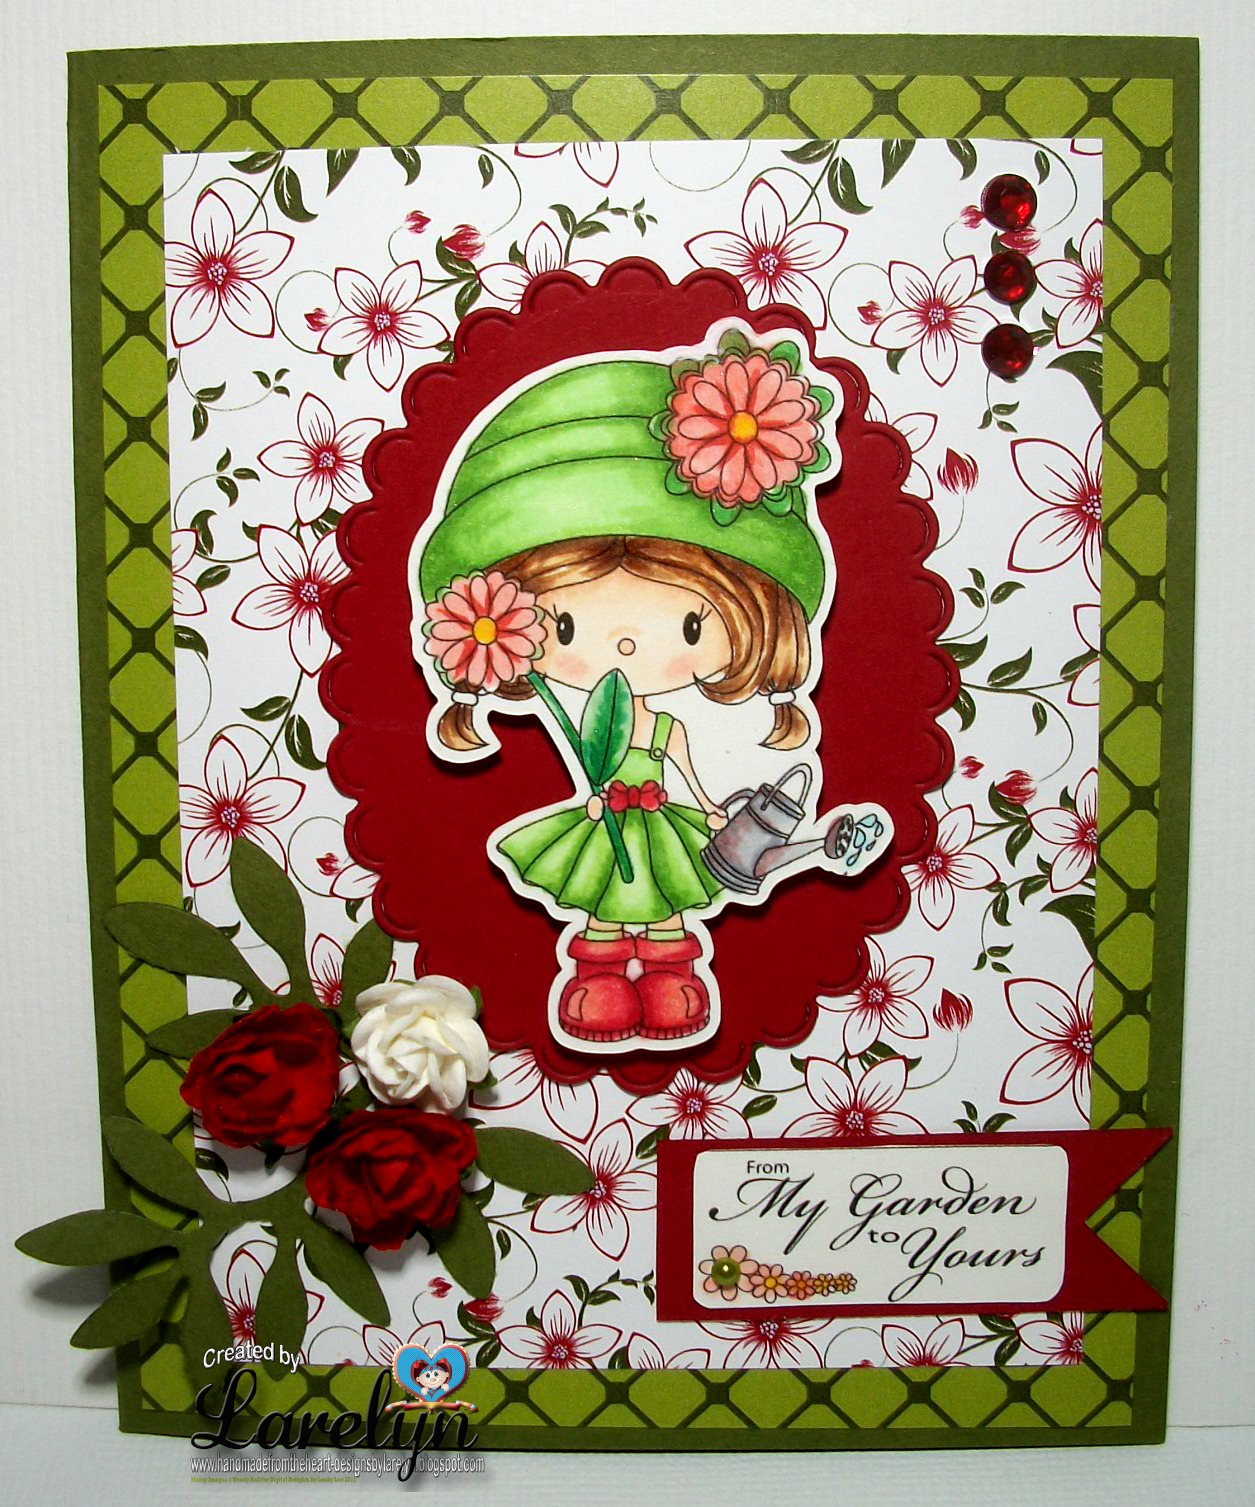
This is the card I made to accompany the memory box.
After stamping this adorable image from Stamp Annie Thing, I scanned it into my Scan n Cut, created a shadow and then cut them both out.  The #1 is also from Jaded Blossom's Alphabet Dies.
Here's a list of our sponsors and the prizes that they have graciously provided for our celebration - 
Trendy Twine - sampler pack of twine
Pink & Main Stamps - $20 gift certificate
The Cutting Cafe - One clear stamp set & any 3 sets from the cutting cafe digital site.
*My Creative Time: 3 winners will receive a Stamp Set
*DCWV: 6 Winners (Each winner will receive a 12x12 Paper Stack & a 6x8 Color Pad)
*Lawn Fawn: 6x6 paper pad & stamp set
*KBD (2) $5 gift certificate
* Bugaboo Digi Stamp: 7 Free Images
* Your Next Stamp: A $20 YNS gift certificate
* Pretty Paper, Pretty Ribbon: $15 gift certificate
*SVG Attic: gift certificate
Come on over and join in our celebration!!!
Photobucket

Thursday, July 7, 2016

Stars and Stripes Always


Hi Crafty Friends,

It's my turn to post for Paper Crafting World.

Our family had a wonderful 4th of July long weekend.  We started on Saturday with our small town's Independence Day Parade, then a pool party with friends, topped off with a spectacular fireworks show.  On the 4th, we headed to the Delta to share the day and evening with family.

So, what's my point in sharing?  Paper Crafting World has the perfect cut files to help create your scrapbook pages to save your memories.  For this single page layout, I used Melinda's newest
Pazzles Craft Room  EXCLUSIVE files, Stars and Stripes Bear Boy, and Stars & Stripes Always title.  Both can be found by searching the Pazzles image library for PCW.  These files are on page 5.


You don't have to own a Pazzles to download these files as they also come in the SVG format.  You do, however, have to subscribe to the Pazzles Craft Room.  There are several plans to choose from and even if you only join for a month, you'd be able to download many, many amazing files. You can preview the files here.

I cut these files on my Silhouette using American Crafts and Doodlebug Designs card stock.  I inked the bear with Powder Puff chalk ink and added some sparkle to the stars and sparkler using Wink of Stella yellow glitter brush pen.

Please visit the Pazzles Craft Room library and Paper Crafting World for more files to create the pages for your 4th of July memories.

Thanks for stopping by.
Photobucket
Related Posts Plugin for WordPress, Blogger...